we want to thank everyone who's placed an order this month and taken advantage of the free shipping.
And now on to the links and pictures. This is going to be long and picture heavy.
First, the link. I know a lot of people love Prima products but some can be intimidating. I was recently showing someone a Prima Paintable and how I'd used some of it on a card for someone. (I'll post a picture of the card later in
My Gallery). I took a class once with
Kelli Crowe. She's a designer for Autumn Leaves. It was actually her first class but she did a great job. We stamped images and then used watercolors to paint them in. Very cool. And it distresses the paper a little bit. Anyway, when these Paintables came out last year I'd been wanting to try it. Well, as any scrapper knows, sometimes we just
can't do every technique and layout idea we have on our list to try. It wasn't until I saw
THIS from Prima last week. Its a Youtube video on how to use Paintables. Its a few minutes in on the video but its a really good idea on how to use the watercolors to paint in the areas you want. I even had a package of watercolors I'd purchased after taking Kelli's class so this was perfect. Its something everyone should try - at least once.
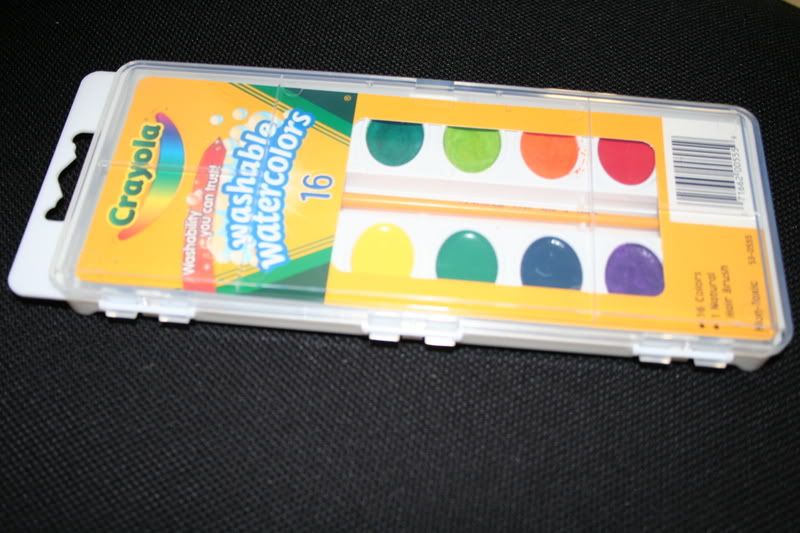
Of course, I wasn't satisfied buying the regular, old 99 cent case that we send to school with our kids. You know the one, the store brand with 8 colors. No way, Jose. I got the deluxe case. 16 colors from CRAYOLA!!

These babys go on bright. I mean, very bright. If you want color, buy these. They are not your ordinary watercolors. They even dry with a slight 'waxy' look/feel to them. Almost like a crayon but without the crayon marks. But really cool effect. I mounted the painted area of the Paintable on black cardstock so it would pop out more.
And as any busy card-maker knows, I waited till the very last minute to make this card so I never got a picture of it. I will be getting it back from them so I can get a quick picture to post.
So, the Paintables are available in the store. Very cool product to use and at the Winter show, they introduced CLEAR Paintables. So you have cardstock ones and now clear acetate ones. Very cool.
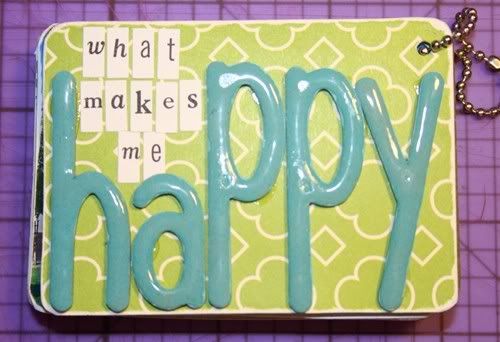
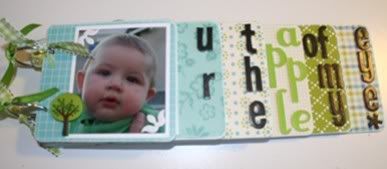
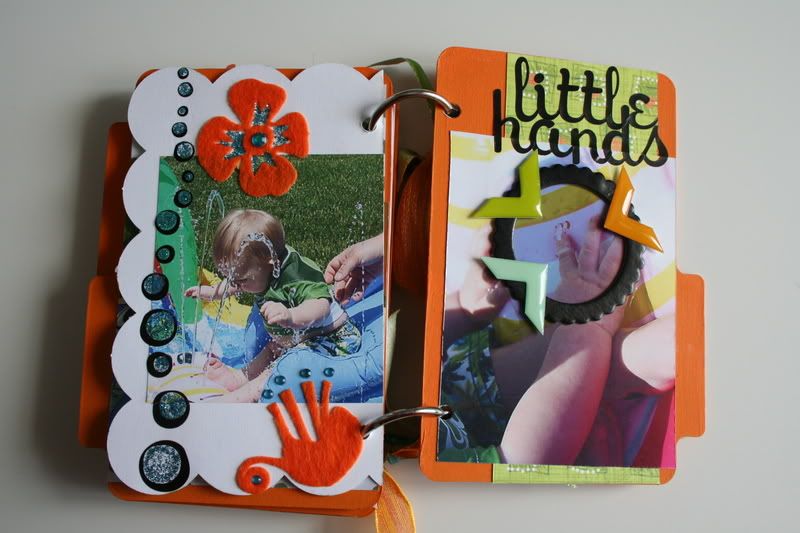
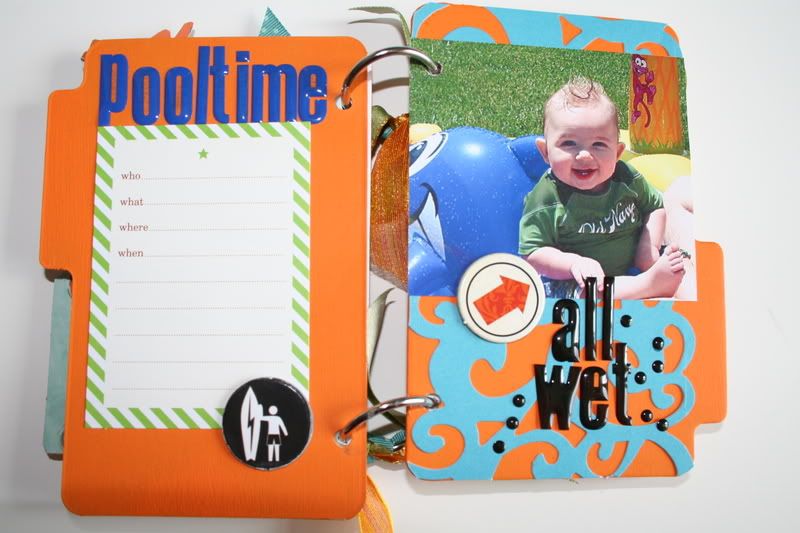
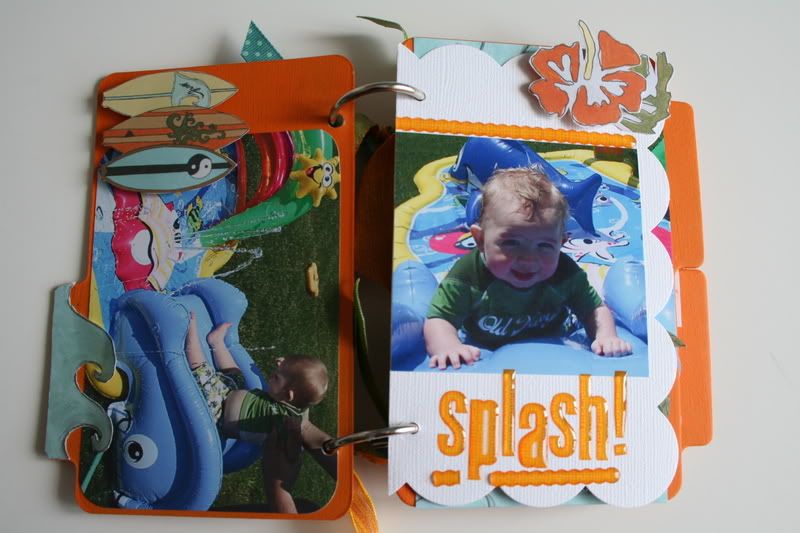
And a mini book I've been working on. I only get 45 minutes for lunch at work so I make the most of it. Of course, by the time I drag supplies out and tools, its pretty much time to clean up. But, I did manage to get this little cutie done. I used the Book It! Chipboard pack from Fancy Pants (on clearance in the store) and painted it orange. I used all kinds of good stuff. Bazzill Scalloped papers, new Lil' Davis Designs Epoxy letters (these are fun to work with!), new Prima felt letters (another fun thing to work with - and so much more. I posted the supplied used for each page in
My Gallery. But here are a few pages.

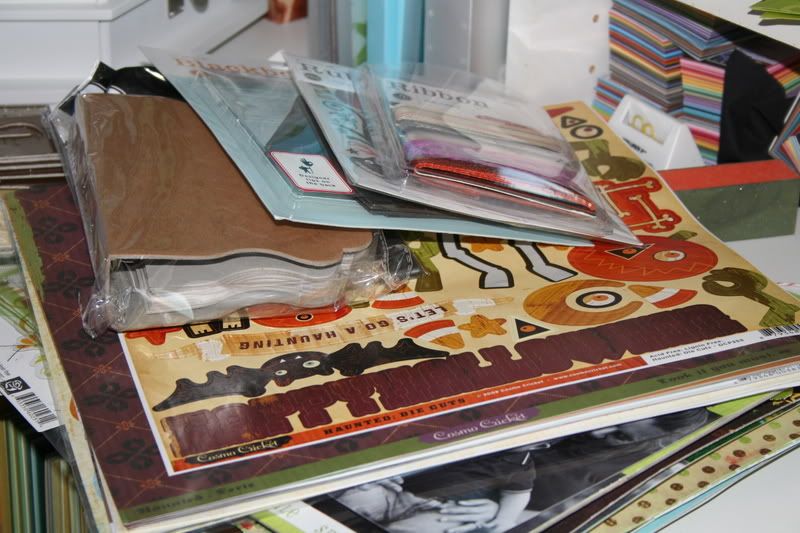
The Book It Chipboard comes with pre-cut chipboard pieces to make 2 mini albums. One 4x4 square and the one I used, the tabbed one. There are some extras like flowers in the pack as well. You can see them
here. Just something cute to have on my desk at work.
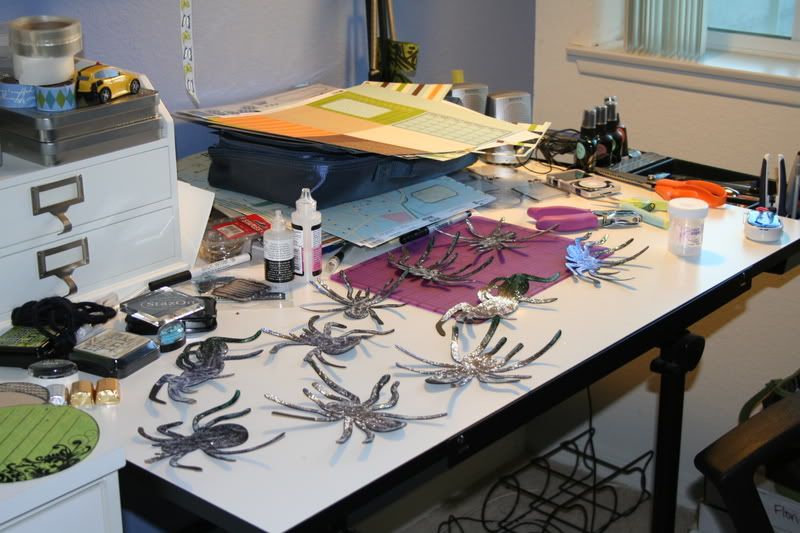
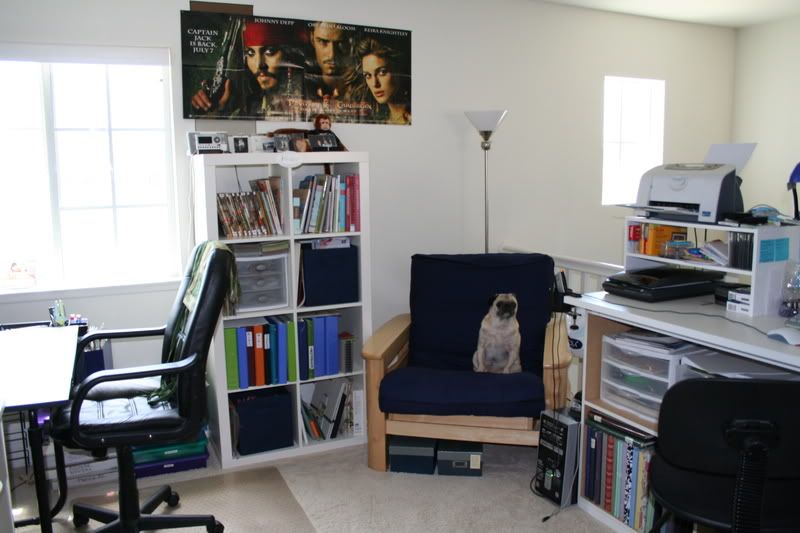
And finally, I'm always searching blog out there. I love to see what you guys are creating. Its awesome when you leave comments and I can link to your blogs. There is so much activity out there in blogland. I see people posting pictures of their scrapbook rooms and 'studios'. This is my creative space. Just a note, the last time this room was this clean was when I painted and moved into it almost 4 years ago. So, consider yourself very lucky to get to see the clean room. It probably won't be this clean again once I get started on projects. (Remember when I said June was dedicated to finishing my started projects? Well, I'm working on that and cleaning up this room!)
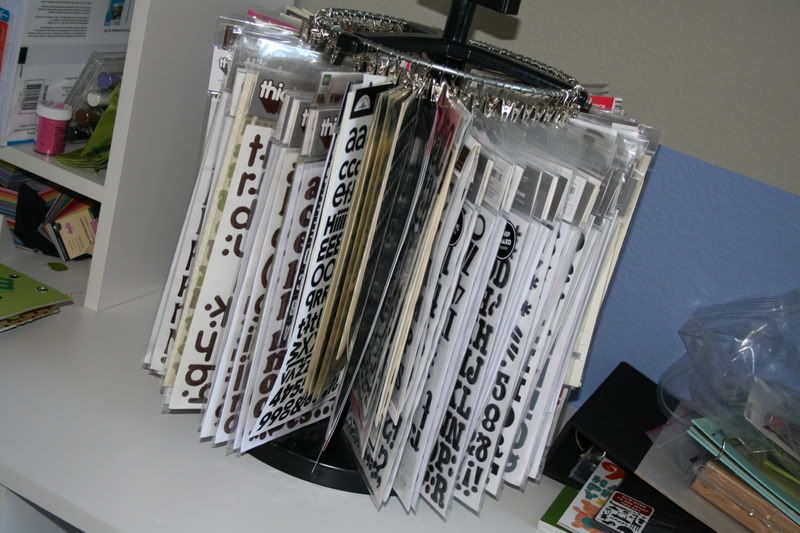
1. Rascals Corner. Yes, he really does have a corner. Thats his chair. Thats where he sits and watches. He's truly spoiled as most pugs are. The story with this room (or loft) is that when we first moved into this house, it was out second family room. We had a futon chair and full futon in this room with an entire entertainment system set up. We had the builders install in-ceiling speakers which ROCK! This was our other space to watch movies and just relax. Or a place for me to watch tv while Bryan was wathcing the one downstairs. In true male fashion, he bought the largest tv known to man to fill the gaping hole that is the media niche downstairs. My first scrap room in this house was the spare bedroom. I outgrew that. So, I started designing the loft as my next space. Our master bedroom is large. Larger than a normal master and very hard to fill. So we moved the futon in there. The futon chair, however, stayed right where it was and became Rascal's Corner. I have my Ikea Expedit shelf there for all of my idea books and stamps. I file my clear acrylic stamp sets in 3 ring binders. I love this idea since I can see everything I have just by flipping through the pages. Oh, and I love that big window right by my desk. Lots of light during the day.

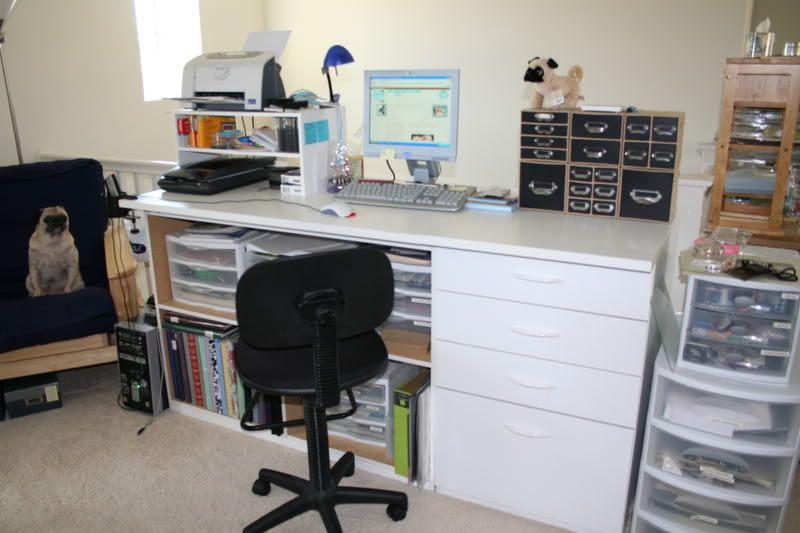
2. Computer desk and some storage. These cabinets are actually garage work benches from Lowe's. All laminate material. The printer is on a shoe rack from the closet section! Who needs the Target cubes?!? And this is where I run YSS.com from.
3. My Donna Downey Storage system. I love this thing. It holds all kinds of small things! And my Pug Webkinz sitting there.
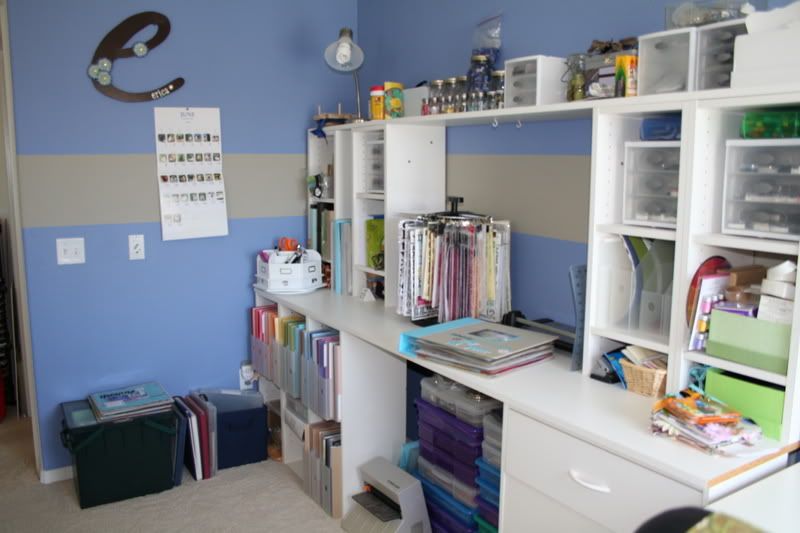
4. Main Storage. Once again, who needs those Target Cubes? I priced those but for $25 or more a piece (!) I couldn't shell out that kind of money when I knew there was a better solution. My dad is an engineer so I worked with him on this. I designed it and he made sure it was installed properly and to every building code there might be. I spent about $175 for this. The bottom left corner are 3 of the tall cubes from the closet section at Lowes (or Home Depot - they carry the same stuff). Just the laminate stuff. I got these on sale at the time, so I paid $18 for each of them. Those Target cubes go for $25 EACH, so thats $75. See, I told you there was a cheaper option. They fit side by side.
On the right side, I used their drawers. Two stacked equaled the same heighth as the 3 cubes. Perfect. I bought a piece of laminate thats 48 inches wide and 8 feet long. Thats the desktop. More cubes on top with another piece of laminate across the very top. This piece is 24 inches wide and 8 feet long. The bottom half sticks out from the wall allowing for a little storage
behind the cubes and drawers. The desktop is secured to the wall and has a piece of wood as a bracket to support it. (see, it pays to have an engineer in the house!) The upper layer is flush with the wall giving me a lot of working space. I mainly use my drafting table and this space is for visitors.

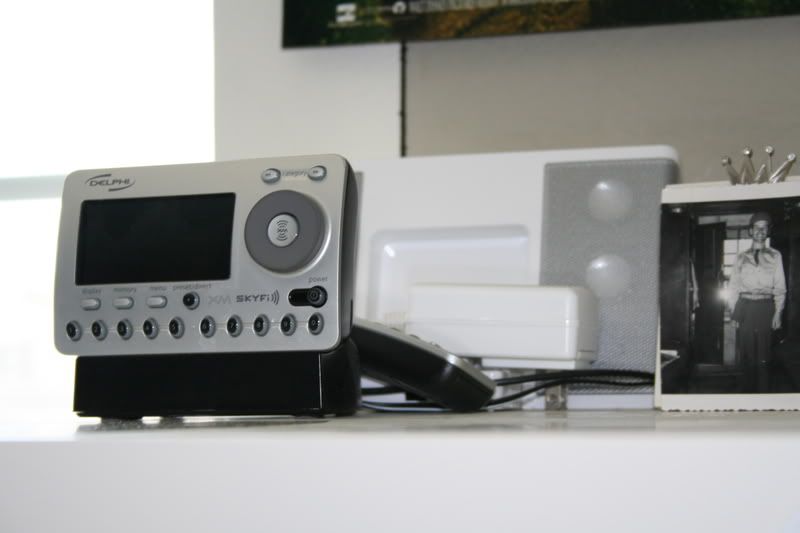
5. Music - still loving those in celing speakers!
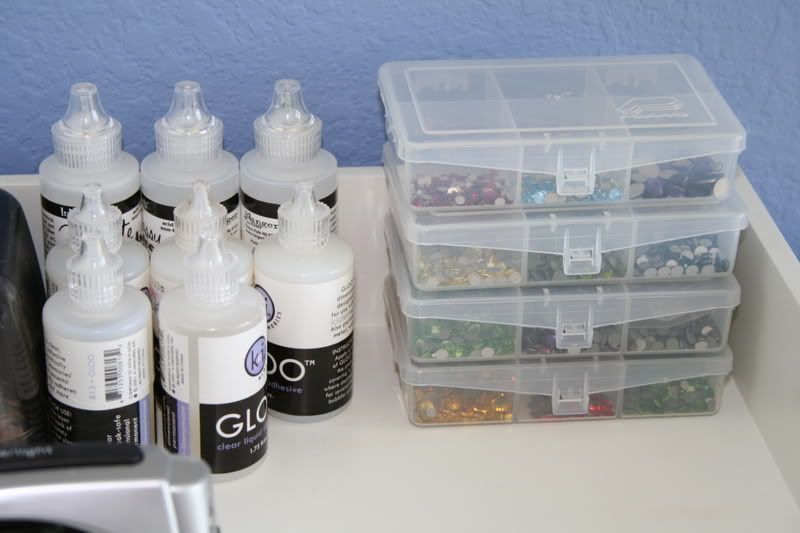
6. My collection of KI Gloo and Glossy Accents. My two 'go-to' wet adhesives. And my bling storage. Yep, thats my Swarovski crystal collection.
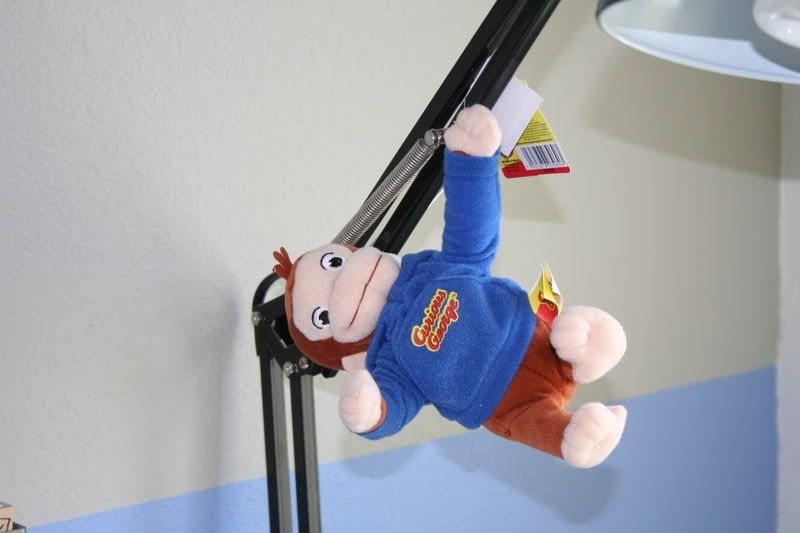
7. My lamp. Curious George.
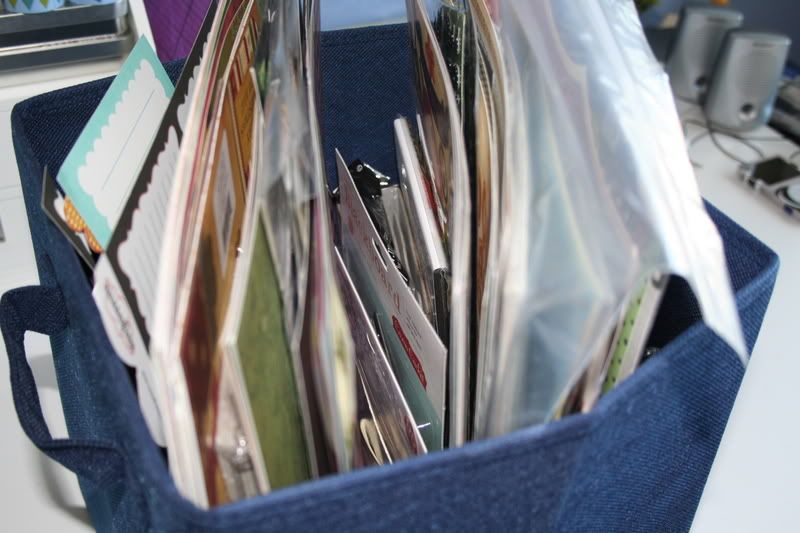
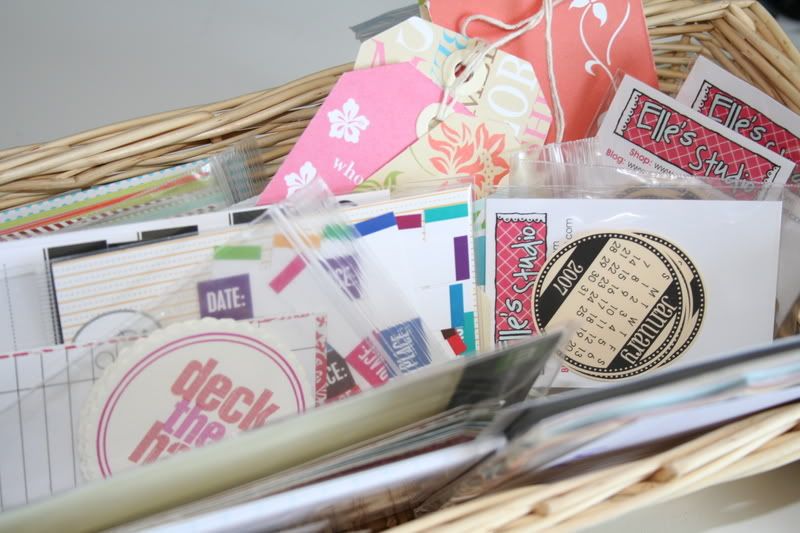
8. Journaling tags. I just keep a basket handy and all journaling cards go in there.
9. My comfy chair and craft apron.
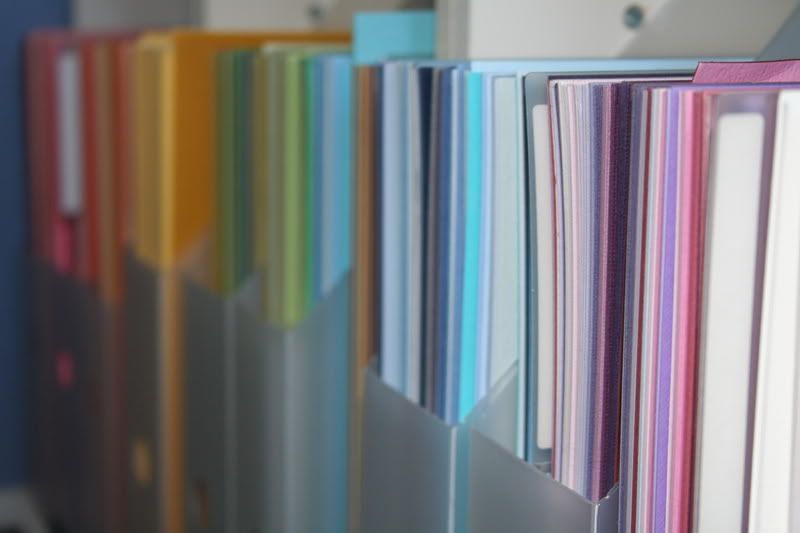
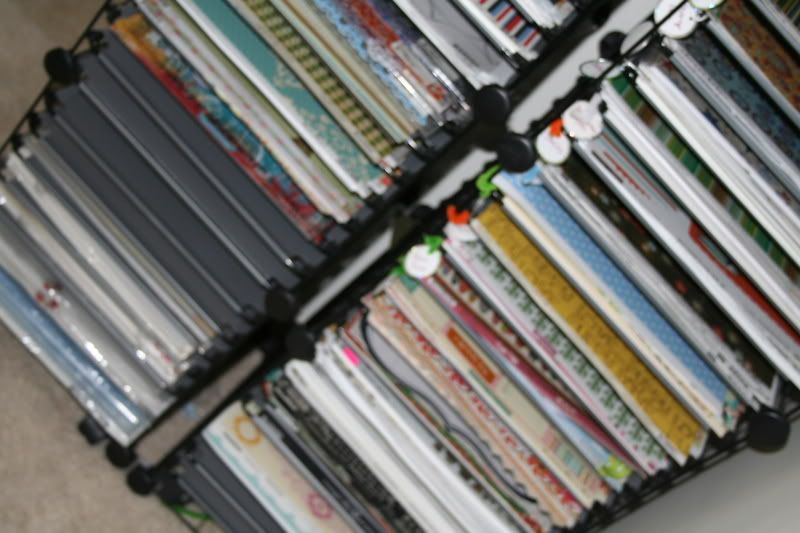
10. Paper storage. By company.
Oh, and
Elle has some new goodies in the shop. We already ordered some so look for those to start showing up with your orders!